Add a "Listen to This Post" Player to Your Blog: Turn Written Posts Into Audio With Text to Speech (2026)
Your blog posts already exist. Here is how to add an audio version to each one with text to speech: prepare the text, pick one voice, level the loudness, host the MP3 and keep a transcript on the page.
1) Why add audio to a post that already works
Audio is not a replacement for the written post. It is a second way in. People who would never read 2,000 words at their desk will listen to the same words while doing something else, and readers who struggle with long text on a screen get a real alternative.
- Time-poor readers: they can finish your post on a walk instead of bookmarking it forever.
- Accessibility: an audio option helps readers with low vision or reading difficulties, though it does not replace proper accessible markup on the page.
- Return visits: a reader who heard the post once is more likely to read the next one, because the first one finished.
The common failure is not the idea. It is the shortcut: paste the whole page into a voice tool, get a flat read that stumbles on a table or a URL, and publish it without listening. A short preparation pass fixes almost all of it.
2) Prepare the text for the ear
Written posts contain things that do not survive being read aloud. Make an "audio copy" of the post rather than reading the page as it is.
- Remove what cannot be spoken: navigation text, "click here", image captions that repeat the body, share buttons and cookie notices.
- Turn links into words: "see the pricing page" is better than a spoken web address. Put the link in the written post and the description in the audio.
- Handle tables and lists: read the point of a table in one sentence ("Plan B is cheaper above ten posts a month") instead of reading every cell. Read short lists in full; shorten long ones.
- Spell out numbers, dates and units: check the way your voice reads "10/11", "$1,200" or "5k". Our numbers, dates and units guide covers the checks.
- Fix names and acronyms: see the pronunciation fixes guide for the quick way to respell a hard word.
- Add a short intro and outro: "This is the audio version of a post on [site]. The full text, with images, is on the page." and a one-line close.
A good test: if you read the audio copy aloud yourself and trip anywhere, so will the voice.
3) Pick one voice and keep it
Consistency matters more than which voice you choose. A reader who hears the same voice across your posts begins to recognise it as part of your site.
- Choose a voice whose pace suits your subject: calmer for essays and tutorials, a little brisker for news-style posts.
- Audition it on the hardest paragraph of your most technical post, not on the intro.
- Write the voice name and settings in a note so every future post uses the same ones.
Audition voices on your own paragraph
Paste your hardest paragraph, try a few voices, and keep the one that handles your subject without strain.
4) Level the loudness before you publish
Readers play audio from many places: phone speakers, earbuds and desktop speakers. If one post is quiet and the next is loud, readers adjust their volume every time and some stop. A quick levelling pass keeps every post at a similar listening level.
- Export the audio at a sensible quality; speech does not need a huge file.
- Run it through the free audio normalizer so posts match each other.
- Listen to the first 30 seconds and the last 30 seconds on your phone speaker before you publish.
5) Host the file and place the player
You have three practical options, and none needs a heavy plug-in.
| Option | Good for | Watch out for |
|---|---|---|
| Upload the MP3 to your site's media library and use the built-in audio element | Simplicity, one place to manage | Large files slow shared hosting if you publish a lot |
| Host on a storage or podcast host and embed a player | Many posts, many listeners | One more account to manage |
| Publish the audio as a podcast feed too | Readers who prefer apps | Extra setup, and a feed needs a name and artwork |
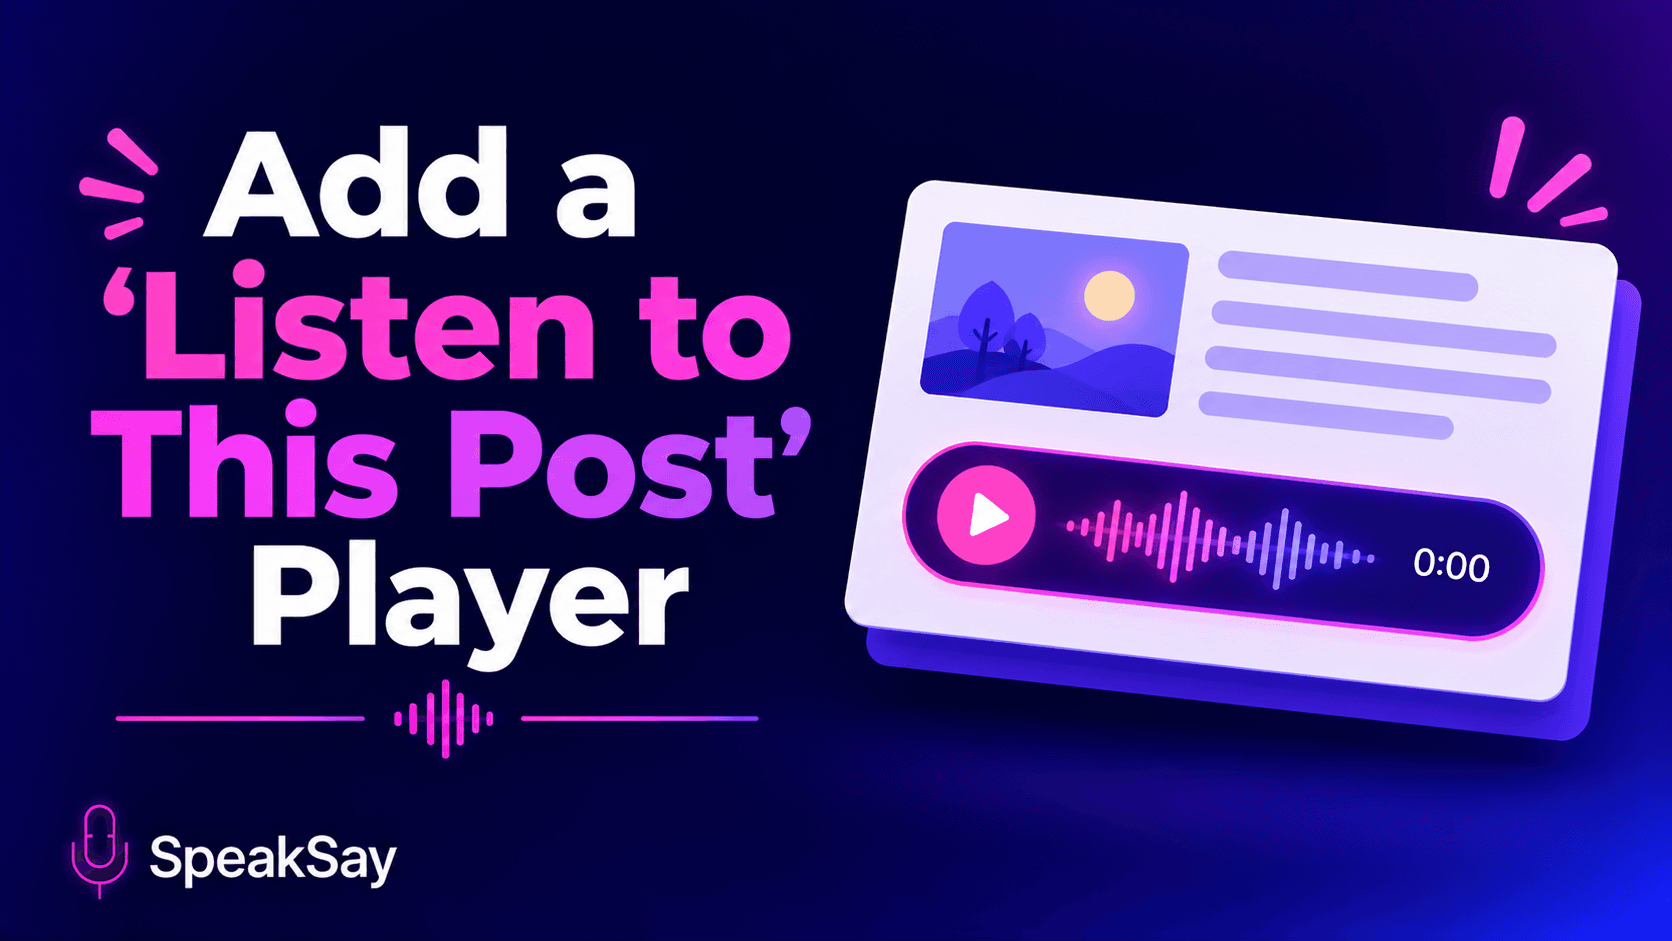
Put the player near the top of the post, directly under the headline, with a plain label: "Listen to this post (7 min)". Do not start playback automatically.
6) Keep the text on the page
The audio is an addition, not a swap. Keep the full written post on the page so readers can skim, search and copy, and so search engines still read the page as text.
- Add the audio length next to the player so readers know what they are choosing.
- Keep the audio's intro and outro consistent from post to post.
- If you correct the post later, regenerate the audio copy, because a mismatch between the page and the audio is confusing.
- Say once on your site that the audio is generated with text to speech, in a short plain line near the player.
7) Doing it for a back catalogue
If you have 80 posts, do not start at post one. Start with the ten most-read, each with a short evergreen shelf life, and add audio to new posts as you publish them. Then work back through the rest in batches.
Because the cost of audio grows with every post you voice, a flat plan is easier to budget than paying per post. If you plan to voice a catalogue, compare the monthly plans with the lifetime plan before you commit.
Voice your whole blog on one plan
If you plan to add audio to dozens of posts, compare a one-off lifetime plan with paying month by month.
8) Frequently Asked Questions
Will an audio version hurt my search ranking?Not if the written post stays on the page as normal text. The audio sits alongside it. Keep the headline, headings and body as readable text.
Should I disclose that the voice is AI?Yes. A short line near the player is enough, for example "Audio generated with text to speech."
How long should the audio be?As long as the post needs. If the written post is long, consider an audio edition of the key sections plus the full text on the page, and say which one the listener is hearing.
Can I use my own voice instead?You can, if you have your own consent-based voice clone. Use one voice consistently, and see the voice cloning page for the process.