Exhibit Labels, Out Loud: A QR-Code Audio Guide for a Small Museum or Gallery With No Budget for a Device Program (2026)
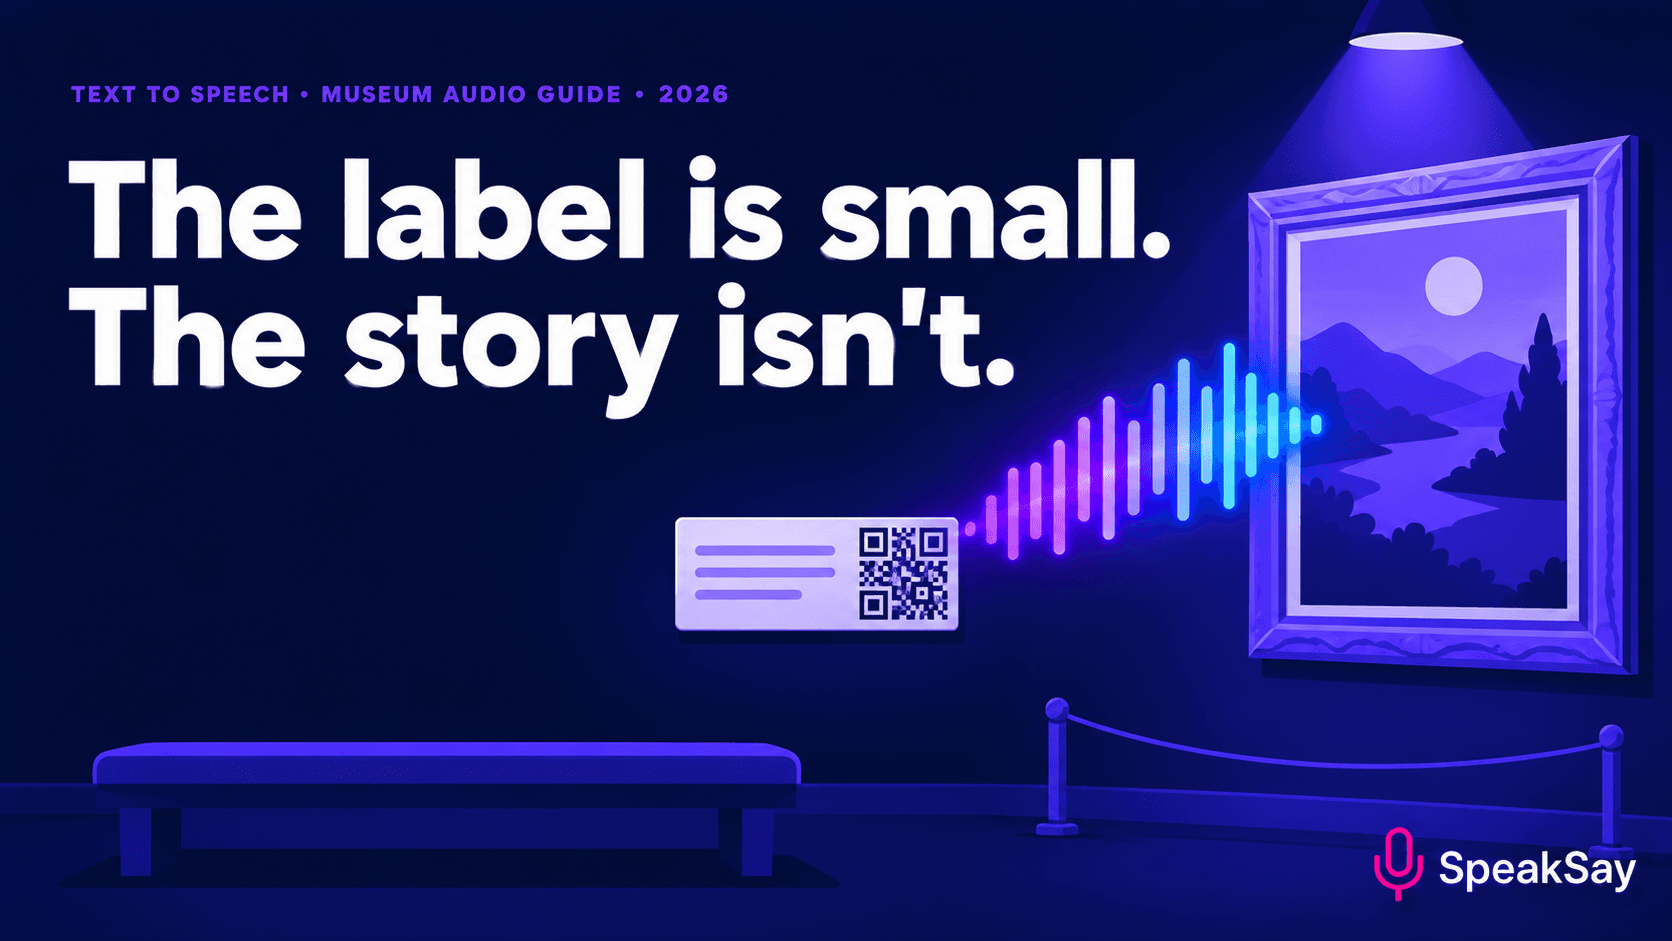
Small museums have labels few visitors finish and no budget for rented audio devices. A QR code beside each label that plays 30–60 seconds of audio costs far less. Here is how to write for the ear, set up the codes, keep it accessible and keep a written version.
1. Why labels lose visitors
Labels are written once, usually by a curator or volunteer, and read by visitors who are standing, tired and often short on time. Three things work against them: small type, dense sentences, and a lot of text competing with the object itself.
Audio changes the job. A visitor can look at the object while listening, which is the point of a museum. It also helps visitors who find print hard to read, and visitors who prefer to hear a story. It does not replace the label. It adds a second way in.
2. Which objects get audio
Do not record everything. Pick the 8–15 objects where a story beats a description.
- Objects with a human story: who made it, who owned it, what happened.
- Objects that are hard to understand by looking: tools, instruments, documents.
- Objects visitors ask volunteers about most. Ask your front-desk team for the top five questions.
Start small. A tour of ten good stops is better than forty thin ones.
3. Write for the ear, not the wall
A label is built to be scanned. Audio is built to be followed. Rewrite each stop as a short spoken note of 30–60 seconds, roughly 80–150 words.
- Open with the object. "Look at the small brass key in the case on your left."
- One idea per stop. The best fact, not all the facts.
- Short sentences. If you run out of breath reading it aloud, split it.
- Spell out numbers and dates the way you would say them. "Eighteen ninety-two," not "1892."
- End with a prompt. "Turn around and look at the window behind you."
Read each script aloud once before you generate audio. Anything you stumble on, the voice will also stumble on.
4. Pick voices and record
Choose one clear, warm voice for the whole tour so the stops feel like one guide. Browse the SpeakSay voice library, listen to the same paragraph in a few voices, and pick the one that suits the building rather than the loudest one.
| Choice | Good for | Watch out for |
|---|---|---|
| One neutral voice | Most small museums | Can feel flat if scripts are dry |
| Two voices (guide and a quoted person) | Stories with letters or diaries | Do not imply a real person is speaking; say it is a reading |
| Local volunteer's recorded voice | Community feel | Needs written permission and a plan if they leave |
Names, place names and technical words are where text to speech slips. Add a respelling in the script and listen to each clip once. Our guide to fixing pronunciation of names and acronyms covers it.
If your tour is outdoors, see our post on walking-tour audio for a historical society. This post is about indoor labels.
Try your first stop
Paste one label rewritten for the ear, pick a voice, and listen. If it sounds right, the other nine will follow.
5. Set up the QR codes
- One page per stop. Each code opens a simple page with the audio player and the written label text.
- Use a short, permanent address. If the web address changes, printed codes break. Ask whoever manages your website for a stable path such as /audio/stop-3.
- Print codes at a useful size. Test with a few different phones from the distance a visitor will actually stand.
- Add a line of instruction. "Scan to listen · 40 seconds."
- Do not depend on museum wi-fi. Visitors may have patchy signal in thick-walled buildings. Mention if you offer wi-fi, and keep audio files small.
6. Accessibility and the written label
Audio helps some visitors and not others. Deaf and hard-of-hearing visitors need the text, so show the full script on each stop page and keep the printed label. Blind and low-vision visitors benefit from audio that describes what the object looks like, not just its history. Add one sentence of plain description at the start of each stop.
If you want to see how a similar approach works for printed menus, our post on audio menus for blind and low-vision guests uses the same QR setup. Check your local accessibility guidance for what your venue should provide, since requirements vary.
7. Keep it up to date
Exhibits change. Keep one spreadsheet with a row per stop: script, audio file, QR address, date recorded, and who approved it. When an object moves or a fact is corrected, change the script and regenerate that one clip. The code stays the same because the address stays the same.
If you plan to add stops each season, check whether a one-time plan beats a monthly one. See the Lifetime Plan and the pricing page.
Planning a tour that grows each season?
Compare monthly plans with a one-time plan before you commit your volunteers to a workflow.
8. FAQ
How long should each audio stop be?Thirty to sixty seconds is a good range for most objects. Longer stops work for key pieces if visitors can sit.
Do I need an app?No. A QR code can open an ordinary web page in the phone's browser, so visitors do not have to install anything.
Can I use a real person's voice?Only with their written permission and a clear plan for how long you may use it. Many museums choose a synthetic voice to avoid the issue.
Should I remove the printed labels?No. Keep them. Audio is an addition, and some visitors need the text.
What about languages other than English?If your visitors speak other languages, have a fluent speaker check each translated script before you generate audio.